Spring is back. The light is right. You grab a roller and promise yourself a fresh coat of paint for the living room. You have energy. You have vision. You imagine a space that feels brand new.
But then the work stops. The brushes go in the sink. And you touch the wall.
It catches. It’s rough. The surface you expected to be smooth feels like coarse sandpaper. Frustration sets in quickly. You might blame the paint. You might blame the brand you bought at the store. But the problem isn’t the product. It’s the method.
There is a simple step that professional preparers always take. It separates the weekend warrior from the pro. Understanding this mechanic allows you to get an excellent finish without exhausting yourself.
Зміст
The Granular Nightmare: Why the First Coat Betrays You
Applying water-based paint triggers a physical reaction on the wall. It is inevitable. When you apply that initial coat, moisture penetrates the surface.
Think about what is happening at a microscopic level. The tiny hairs in the plaster, the cellulose in the putty, or the fibers from old layers drink up the water. They swell. They stand up. They grow uncontrollably.
At the same time, dust floats in the air. Invisible dirt. Residue from a lint roller. These particles get trapped in the wet film as you spread it.
Once the water evaporates, the wall freezes in that moment. It locks in all those microscopic imperfections. The result is a rough texture that feels terrible under your fingertips. You didn’t make a mistake in technique. You just didn’t anticipate the physics of drying paint.
The Fatal Error: Rushing Without Inspection
You want to finish before the weekend ends. The temptation is strong to load up the roller and cover the base coat immediately. You need speed. You need to move on.
This approach is counterproductive.
Painting over a grainy surface doesn’t hide the flaws. It encapsulates them. It seals them in place. The clear spring light streaming through your windows will highlight every tiny relief on your walls. It will be unforgiving.
You must take time to inspect the wall. Rigorously. Absolutely fundamentally important. Only by seeing the state of the wall can you correct the situation. Don’t rush. Look.
The Painter’s Secret: The Art of “Égrenage”
Most DIYers skip this step. It is obscure. It has a technical name that sounds intimidating, but it is incredibly effective: égrénage.
In English, we might call this “scuffing” or “de-nibbing.”
The process is simple. You lightly uniform the area. You knock down the fibers that stood up during the first coat. It seems minor. It isn’t.
This step offers a double benefit. First, it restores a perfectly flat surface. The debate is over. Second, it creates micro-scratches. They are invisible to the naked eye.
Why does this matter?
These tiny scratches provide mechanical grip. The next layer of paint adheres optimally. It locks in. This maximizes durability and resistance against daily impacts. It is not just about looks. It is about longevity.
The Absolute Weapon: Choosing the Right Grit
Do not confuse this delicate action with aggressive renovation sanding. This is precision work. It is like watchmaking.
Forget the harsh abrasives meant for stripping thick woodwork. They are overkill. For plaster walls, you need extreme gentleness.
The target is a delicate sandpaper. Specifically, look for a grit between 180 and 240.
This fine gauge ensures light wear. It is just enough to file down the unwanted tips without damaging the colored film beneath. Anything coarser risks cutting through your work. Anything finer won’t do the job.
Use this sandpaper on a soft pad. It provides comfort. It allows you to control the pressure. You are not removing material. You are smoothing it.
The difference between a DIY job and a professional finish is rarely the paint. It is the preparation between coats.
Tools and Safety Matters
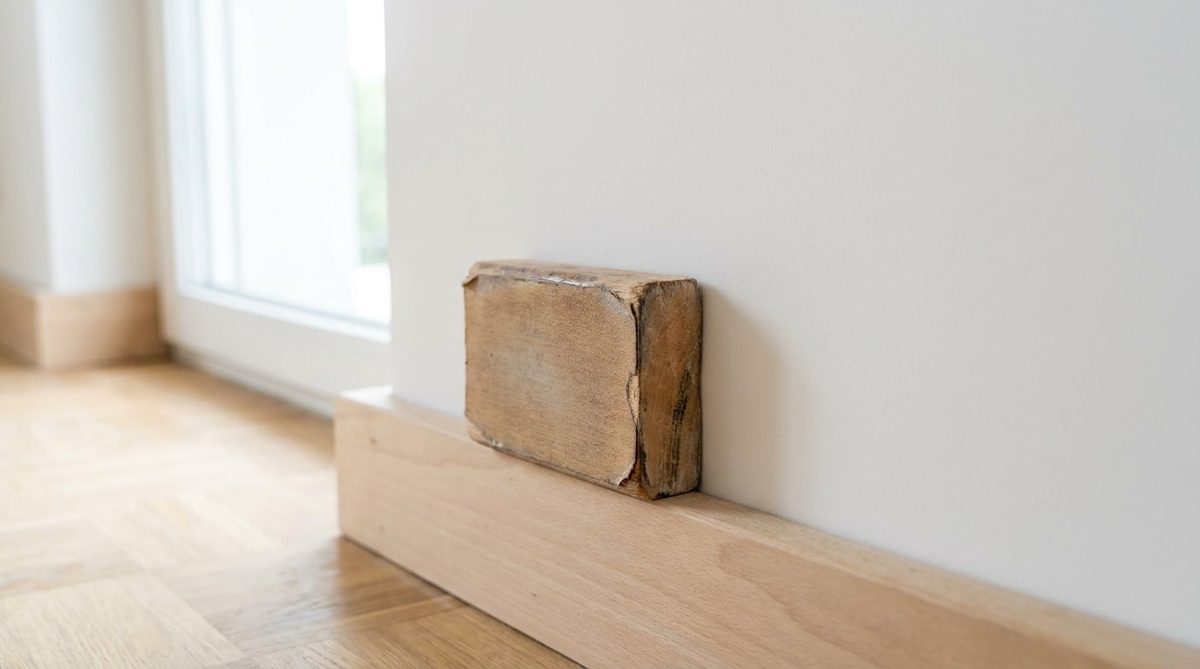
You need the right gear. A 180-240 grit sandpaper sheet or a sanding sponge works best. A sanding block can help keep the surface flat, but a soft pad is often more forgiving on large wall areas.
Safety is simple but necessary. Wear a mask. Sanding creates fine dust. Even drywall dust is harmful to inhale. Gloves protect your hands from the grit and the paint residue.
Keep the area clean. A tack cloth or a slightly damp microfiber cloth removes the dust generated by scuffing. If you leave that dust, the next coat will trap it. You will start the whole cycle over again.
Looking Ahead
You have smoothed the wall. You have prepped the surface. The stage is set for the final coat. But there is more to consider before you pick up the roller again. How do you apply that second layer to avoid new marks? And how do you maintain the finish once it dries?
The wall is ready. Are you?
The patience rule: wait for the paint to fully cure before sanding
The success of this step hinges entirely on timing. You cannot rush the chemical curing process. If you try to sand paint that is still soft or tacky, you will just tear off flakes and create a mess. The surface looks fine, but the underlying binder hasn’t set.
Wait for the manufacturer’s recommended drying time. In early spring, humidity can vary wildly. High moisture slows down curing. If you are unsure, wait longer. It is never a waste of time to let the paint harden completely.
You want the paint to be fully cured. When it is, sanding produces a fine, light dust. If the paint is still wet, it will gum up your sandpaper and ruin the finish.
The correct motion: light touch, not heavy pressure
Do not scrub. Treat the wall like it is made of glass. Press the sanding block lightly against the surface. Use large, circular motions. Move from the bottom of the wall up to the ceiling.
Heavy pressure is a mistake. It creates dips and uneven spots. Let the weight of your hand do the work. You are only removing the high spots, not stripping the paint.
Stop as soon as the surface feels smooth under your palm. Do not overwork a single area. Think about polishing a car. You need fluidity and restraint. Aggressive sanding leads to visible scratches and an uneven sheen.
The final wipe-down: remove all dust before the next coat
Once you have sanded the area, the wall is covered in a fine layer of static dust. If you paint over this, the new coat will not adhere properly. It will look rough and may peel later.
Clean the surface meticulously. Use a clean, lint-free cloth or a damp sponge. Wring out the sponge so it is just damp, not dripping. Wipe down the entire wall, from top to bottom. This removes the fine powder that sanding creates.
Let the wall dry completely after wiping. Once the moisture evaporates, the surface is ready. It is now clean and receptive to the next layer of paint. This step is non-negotiable for a professional result.
The routine for consistent, smooth results
To make this technique second nature, follow this simplified checklist every time you apply a new coat:
- Confirm the previous coat is fully cured. This usually takes about 24 hours, but check the can.
- Use fine-grit sandpaper. Stick to grits 180 to 240. Anything coarser will leave visible scratches.
- Sand the entire wall surface lightly. Do not skip sections.
- Wipe down the wall thoroughly. Remove all dust before rolling on the new paint.
This process takes only a few minutes. It saves hours of redoing work later. It prevents the frustration of patchy, uneven walls.
The result: a flawless, silky-smooth finish
When you apply the next coat of paint to this prepared surface, it will glide on effortlessly. The roller will spread the paint evenly. There will be no dragging or skipping.
Once the solvent evaporates, the paint will look flawless. The finish will be smooth and even. You will not see any bumps or texture. Touching the wall will feel like silk.
This attention to detail transforms a simple refresh into a high-quality renovation. It eliminates the risk of a mediocre finish. By making this routine part of your process, every touch-up becomes a professional job.
With the right tools and patience, you can achieve a mirror-like smoothness. It is not just about paint. It is about preparation. The difference between a DIY job and a professional look often comes down to these small steps. Why risk a poor finish when a little extra care makes such a big difference?