Floating floors are the best choice for homeowners who want to cover an existing subfloor without major demolition work. They click together. They hide the old tile or laminate underneath. It feels like a win.
But here lies the problem.
Most people treat them like stone. They drag chairs. They use steam cleaners. They pour soapy water that seeps into the seams. Then the boards swell. The edges rise. The country looks like a topographical map of a disaster area.
Floating floors are delicate. They expand and contract with changes in humidity and temperature. If you treat them roughly, they will betray you.
You need to protect your investment. Not just because of looks. For longevity. Here is how to keep your floating floor intact without falling into the common pitfalls that ruin these surfaces within a few years.
Зміст
Moisture trap
Water is the enemy. Not all water. Clean water is fine in small amounts. But standing water? This is a death sentence for the core of a laminate or engineered wood floor.
If water gets into the seams, it stays there. The core material, usually high-density fiberboard, absorbs it. Swells. Warps. You will notice this when bubbles form in the seams. When this happens, you can’t fix it with a towel. You have to rip it out.
So how do you clean it safely?
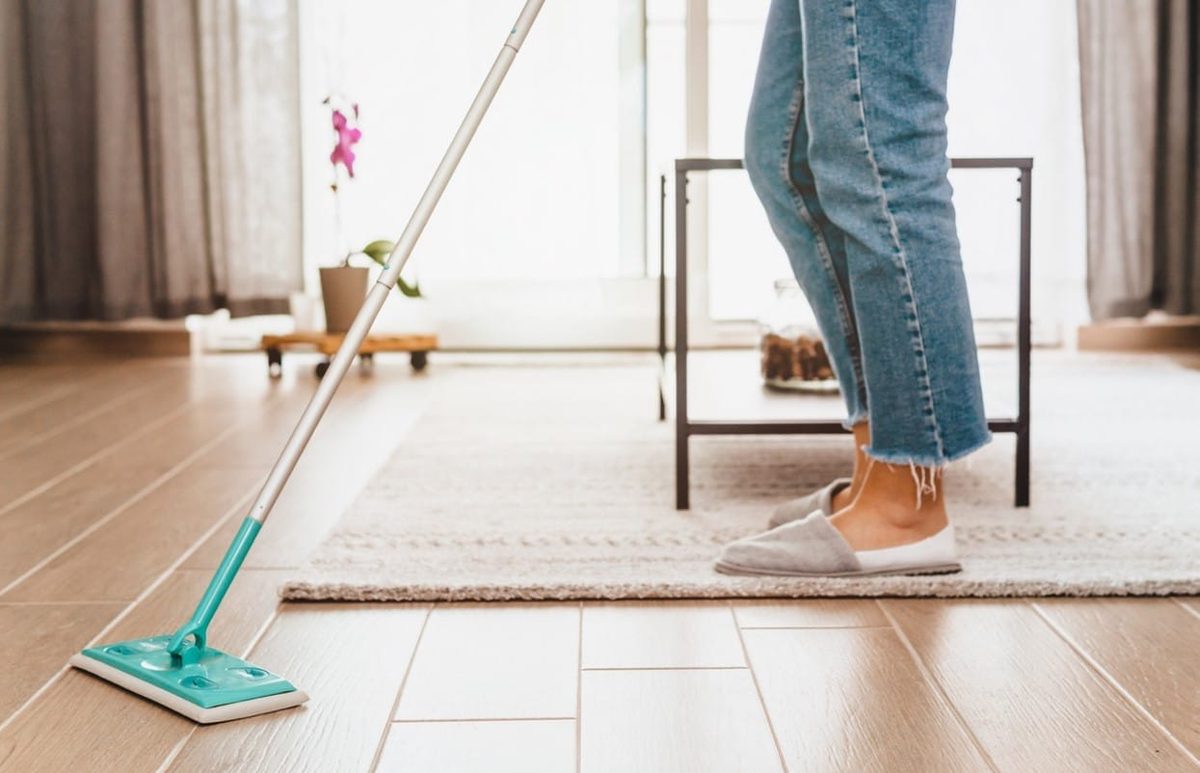
Damp, not wet. Mop with a microfiber pad that has been wrung out until it feels almost dry. No buckets of soapy water. No sprinklers. No hoses.
Never use a steam cleaner on floating floors.
Steam pushes moisture deep into the core. It breaks the glue of the click lock system. It voids warranties. It’s fast. It looks satisfying. It destroys the floor. Skip it.
The Vacuum Question
Sweeping leaves dust behind. Dust acts like sandpaper under foot traffic. It rubs the wear layer. You need to remove the grit.
Which vacuum cleaner is the best?
Any vacuum with a hard floor setting. Or one without a rotating brush bar. The brush bar on carpet vacuums can scratch the surface. It can also pull on loose edges if the click-lock has already failed in one spot.
Look for a vacuum with soft bristles or a suction only mode. Go slowly. Overlap your passes. Also remove the dust from under the baseboards. This hidden dirt accumulates over months.
Chair and carpet problem
You live on the floor. Furniture moves. Kids run. Dogs scratch.
Floating floors do not have the same mass as glued-down wood. They move. A heavy chair leg with a hard plastic wheel causes dents on the surface. A metal leg will gouge it.
Protect the surface. Use felt cushions on every piece of furniture. Check them monthly. They wear out. They stick together. Clean them. Replace them.
For chairs that roll, use a hard floor rated roller mat. Not just any mat. One for hardwood or laminate. It distributes the weight. It prevents dents. It enables easy movement.
Where should they be placed? In areas with heavy traffic. Near the kitchen island. In the home office. In front of desks. It’s cheap insurance.
The cleaning solution myth
Many people grab a bottle of “wood”.
Floating floors are everywhere these days. Why? They’re easier to install than traditional nailed-down wood. You click the planks together. No glue. No nails. Just a floating layer on top of your subfloor.
But here is the catch. Not all floating floors are created equal.
If you treat a laminate floor like solid hardwood, you’ll ruin it. If you use too much water on any floating floor, you’re asking for trouble. Let’s break down exactly what you have, how to clean it safely, and how to keep it looking sharp without calling a pro.
Identify Your Floor Type First
Before you touch a mop, look at the edge of a plank. Or check your installation records. You need to know what you are dealing with. There are three main types of floating floors, and each reacts differently to moisture and abrasion.
Laminate Flooring
This is the budget-friendly option. It’s made of high-density fiberboard (a composite material) with a photographic layer on top that mimics wood or stone. It’s hard. It’s cheap. But it’s fragile.
You cannot sand it. You cannot refinish it. If the top layer chips, it’s game over for that plank. Treat it with kid gloves.
Engineered Wood (Wood Veneer)
This sits in the middle. You have a top layer of real, noble wood veneer glued onto layers of plywood or HDF. It’s more durable than laminate. It lasts longer. It feels more like “real” wood underfoot. But it still has a core that hates water.
Solid Wood Floating Floors
These are the premium option. The planks are 100% solid wood, like oak or bamboo. They might have locking systems that let them float, but the material itself is natural. It can be sanded. It can be refinished. But it’s also the most sensitive to humidity changes.
The Golden Rule: Dry First, Wet Later
Dust is the enemy. It acts like sandpaper. If you walk across a dusty floor, you are grinding that dust into the finish.
Start with a dry clean.
A vacuum is best. Use the hard floor setting. If you don’t have a vacuum, a broom works. Even better, use a microfiber dust mop. It traps dust instead of pushing it around. Get into the grooves between the planks. If dirt stays there, it grinds into the seams.
Keep the floor dry. Moisture is the number one killer of floating floors.
Why Water is Your Enemy
Floating floors are not tiles. They are not waterproof.
Most floating floors are made of wood products. Wood swells. When the core absorbs water, the planks buckle. They lift at the seams. They warp. It’s a structural failure, not just a cosmetic one.
So, when you mop, you must be aggressive about drying.
- Wring out the mop. It should be damp, not wet. If water drips off it, it’s too wet.
- Use a damp microfiber cloth for spot cleaning.
- Follow up with a dry towel. Wipe the area dry immediately.
Never let water sit on the surface. Never soak the floor. If you use a spray mop, mist it lightly. Don’t drench it.
Choosing the Right Cleaner
Skip the harsh chemicals. Ammonia, bleach, and abrasive cleaners strip the finish. They leave the floor dull and vulnerable.
For general cleaning, plain hot water is often enough.
If the floor is really dirty, add a tiny amount of mild soap. Black soap (savon noir) or Marseille soap are excellent choices. They cut grease without damaging the surface.
Don’t clean too often. Over-washing degrades the finish. Spot clean spills immediately. Do a full clean only when necessary.
Tackling Stubborn Stains
Spills happen. Here is how to handle them without damaging the floor.
- Dish soap: A few drops on a damp cloth can lift grease and food stains. Wipe clean.
- Glass cleaner: Good for shiny spots. Spray on the cloth, not the floor.
- Baking soda: Make a paste with water for tough stains. It’s mildly abrasive but safe if rinsed off. It also helps brighten dull areas.
- White vinegar: Mix equal parts vinegar and water. It cuts through grime and leaves no residue. Use a microfiber cloth to wipe it off.
The Steam Mop Question
Can you use a steam mop on a floating floor?
Check your warranty first.
For laminate and engineered wood, steam is risky. The heat and moisture can seep into the seams and delaminate the planks. It’s generally not recommended.
For solid wood floating floors, it’s a hard no. The heat can dry out the wood, causing cracks. The moisture can swell the joints.
If your floor is sealed ceramic or tile, steam is fine. But for wood-based floating floors, stick to damp mopping.
Restoring Shine and Luster
Over time, floors lose their luster. They look dull. You don’t need expensive products to fix this.
Linseed Oil and Alcohol
A classic trick. Mix linseed oil with a little denatured alcohol. Apply it with a cloth. It penetrates the wood and brings back warmth. It works best on older, unsealed wood floors. Test in a corner first.
Beeswax
Beeswax polish adds a protective layer. It fills minor scratches. It gives a natural glow. Apply it thinly. Buff it out with a clean cloth.
Commercial Polish
Every six months, a light coat of floor polish can help. It masks fine scratches. It adds shine. Use a microfiber applicator. Don’t over-apply. Too much polish gets sticky. It attracts dirt.
Using a Reviver for Protection
A floor reviver is different from a polish. It’s designed to refresh the surface and add a protective barrier.
It helps remove embedded grime that regular cleaning misses. It protects against future stains. It doesn’t make the floor slippery. That’s a key safety feature.
Apply it with a soft cloth. No rinsing needed. Let it dry. It’s a quick way to extend the life of your floor and keep it looking new.
Final Thoughts
Cleaning a floating floor isn’t complicated. It’s about consistency and caution.
Dry first. Damp mop second. Never soak. Know your floor type. If you have laminate, be gentle. If you have solid wood, be even gentler.
The floor will last longer if you treat it like a piece of furniture, not a tile floor. Wipe up spills. Sweep daily. Mop sparingly.
It’s a low-maintenance system, but only if you respect the limits of the material. Ignore the rules, and you’ll end up replacing planks. Respect them, and it will look good for years.
What’s the dirtiest corner in your house? Start there.
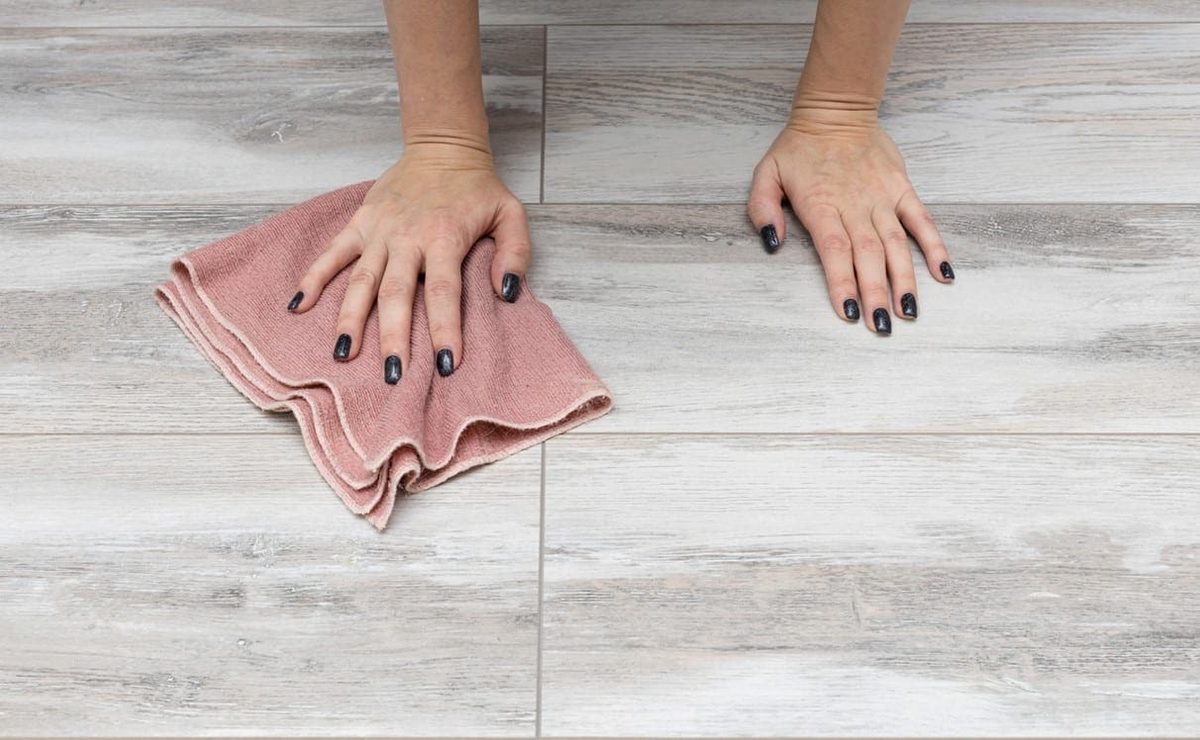
Ignoring a spill is the fastest way to turn a small inconvenience into a permanent disaster. You will see a coffee ring. You think: I’ll get to that later. The later never comes, or it comes too late. By the time you wipe it, the liquid has already seeped into the seams. The stain sets. It becomes part of the wood grain. Subsequent cleaning is often impossible.
Act quickly. Wipe it off immediately.
The products you choose are just as important as speed.
Not all cleaning agents are suitable for floating floor care.
Harsh chemicals, ammonia and abrasives can damage the protective wear layer.
Once this layer is removed, the floor looks dull and vulnerable. Some damage is irreversible. Follow the solutions recommended by the manufacturer. If the bottle says “safe for sealed wood”, test it in the cabinet first. If you notice any cloudiness or changes in texture, throw it away.
Moisture is the enemy. We’ve mentioned this before, but it bears repeating. Water causes the floorboards to swell. They buckle. They warp. They lift off from the subfloor. It is better to leave the wet mop in the bucket. Damp is okay. Soaking is prohibited. If water collects under the edge, there is a bigger problem than just cleaning.
Your tools are also important. The bristles on your brush can do more than just sweep up dust. They scratch.
- Avoid stiff bristles. They act like sandpaper for your finish.
- Use soft bristles. Or skip the broom altogether.
- Vacuum first. Good vacuums collect the dirt that the broom just pushes around.
Dirt stuck under the hard-bristled broom will scratch the surface as you sweep. A haze of micro-scratches forms, which dulls the shine over time. Switch to a vacuum cleaner with a hard-floor setting. Use a brush with synthetic, soft bristles. Or just use a vacuum cleaner for daily maintenance.
The goal is preservation, not just cleanliness. Treat the floor like it has a memory. It remembers every scratch. Any watermark. Any harsh chemical. Be gentle. Be quick. Be specific about your products.